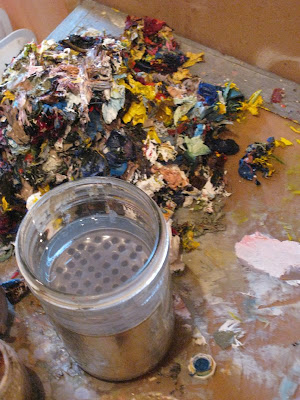
Ah, for starters, we have an empty mushroom can, punched through multiple times with a nail, submerged in a Ball mason jar of odorless paint thinner. This allows for sediment to settle (cheaply) to the bottom as brushes are cleaned against the perforations. In the background is my ubiquitous pile of paint scraped from the palette.
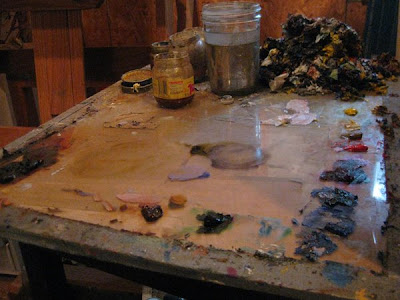
The palette itself is a sheet of masonite topped with a sheet of glass, amply duct taped around the edges and propped on top of an end table. The idea here is that the masonite will provide a nice neutral—a (rather warm) 50% gray—upon with to mix colors, lending a sense of relativity to the values and intensities mixed up. The glass allows for smooth cleanup with a razor blade.
I tend to use, in light to dark rainbow order, toothpaste-sized globs of Titanium White, Cadmium Yellow Light, Naples Yellow (occasionally), Yellow Ochre, Cadmium Red Light, Quinacridone Rose, Permanent Alizarin Crimson (dries faster and is more lightfast than regular A.C.), Ultramarine Blue Deep, Cobalt Blue, Cerulean Blue, Sap Green, and a guest appearance at the end by Transparent red earth. Occasionally burnt umber and Prussian Blue get to sit in, too.
It would be awful nice if I'd ever gotten around to puttying and painting my walls/ceiling up here, but somewhere in the middle of racing to finish an attic studio, a kitchen, and a nursery in our house, my first son was born. So I now just try to keep in mind that the particle board walls here (couldn't get sheet rock up the narrow, twisting stairs) make the light exceeding warm when I'm mixing colors, and adjust accordingly through the magic of unscientific guestimation.
So, here's the book sketch I'm working from at the moment:
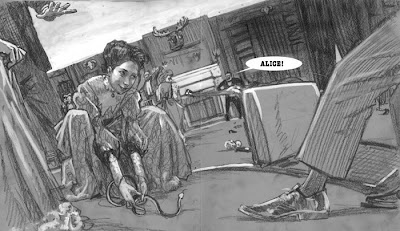
...which was assembled from fair amount of period photo reference, building floorplans, ebay auction photos, and reference photos of a student of mine, dressed in $60 worth of (ebay) hundred year old clothing, cross referenced with other photographic period clothing reference.
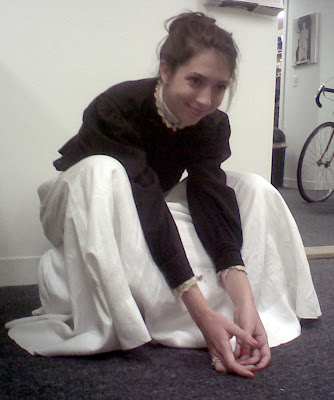
Halfway through our photoshoot, my good camera died, leaving me with only my phone to finish up with. Sooo professional.
The sketch was then printed up at about 150% (the heads were comfortable to draw and paint at that scale...) and transfered via a light table to Fabriano soft press watercolor paper, which had been treated with a 50/50 solution of PVA adhesive and water, leaving it impervious to the elements but still feeling like paper.
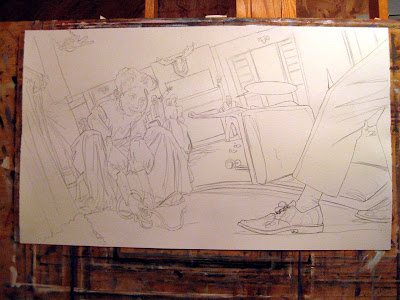
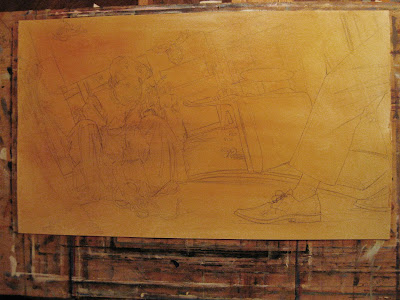
Everything is then toned with a wash of either burnt umber or burnt sienna:
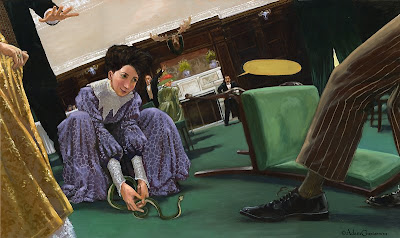
Working in blocks of minimally modeled, muted local color to establish shadows and midtones, the painting is blocked in, usually over about 4-8 hours. I'm thinning the paints with a combination of turpentine, thickened linseed oil, and venice turpentine, which imparts a fairly impasto-free (no lumps), smooth surface, due to the venice turpentine's tendency to "level," or flatten out once applied.
When painting for reproduction, I've found this can help limit reflections and unpredictable sheen when the scanning is done. Thickened linseed oil (I usually use Winsor Newton's) is already half polymerized, which, while making it more viscous, also speeds along dry time.
I typically add a few drops (literally) of cobalt drier to the mix, after which the underpainting will be dry to the touch and ready for a second coat in about 24 hours.
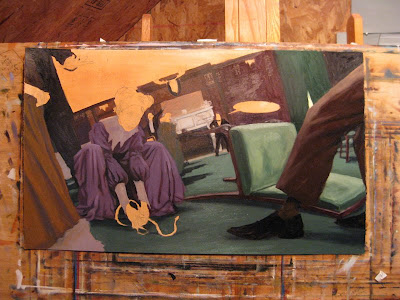
I have in the past started with faces, following advice I received once that if one screws up the face, there's really no point in finishing. This can make the portrait aspect of the painting too "sacred" right off the bat, at least in my case, so I like to get a bit of the atmosphere and temperature nailed down first.
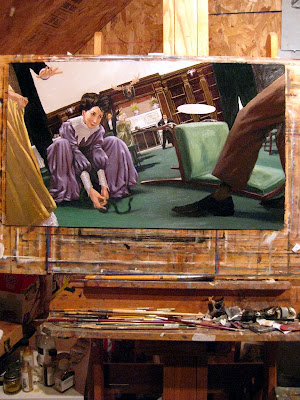
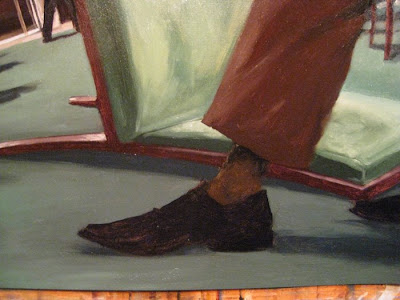
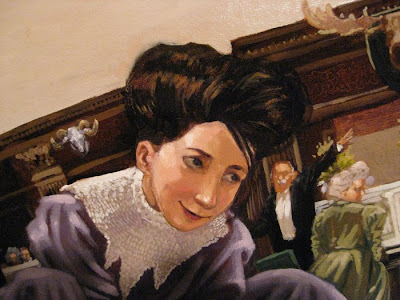
Then I break out the little brushes. I'd still hesitate to say I'm erring on the side of detailed realism; for the most part, my surfaces never transcend from being paint into, say, satin, wood or hair. When the size 1 round brush comes in, it spends a lot of time just cleaning up edges and producing smaller matrices of painterly dabs and blobs. A lot of time gets spent hiding colors inside of each other, trying to play up coloristic temperature shifts to activate as much of the paint surface as possible.
The entire project won't be due for another month or two, so I'll keep this painting out and visible while continuing to work on the remaining spreads and spots, checking character consistency and attending to occasional tweaks.
